
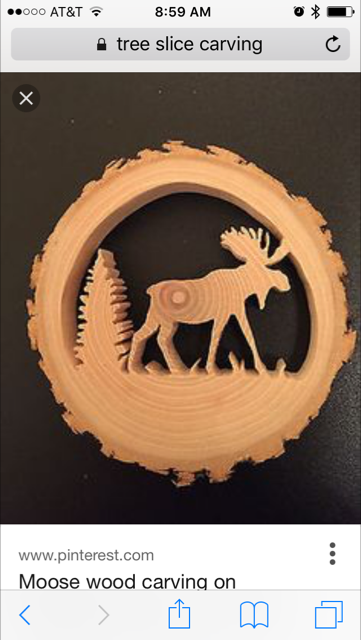
If you've ever wondered about how to make a container, you probably noticed that scroll saws are different than traditional methods. These boxes offer a more enjoyable alternative to traditional boxmaking and are a great way to spend an evening of woodworking. The end result is a box with a beautiful appearance that's also practical. There are a variety of techniques for creating wooden boxes on the scroll saw, and each one offers unique advantages.
Book review
Scroll Saw Boxes Book is a collection that includes patterns and designs for woodwork enthusiasts. The book contains the most popular designs for creating wooden boxes such as fretwork jewelry boxes and unique shapes. This book is also packed with tips and techniques that will make your woodworking project a success. Scroll saw boxes add a personal touch to any decor.
The book contains projects that range in difficulty from easy to complex. The book covers a wide variety of woods including exotic hardwoods. Some of these designs are breathtaking. Many of the designs are inspired in part by cities such as Paris and San Francisco. You will also find detailed drawings and instructions for fretwork, including how to drill bits, finish, and draw them in full scale. Each project contains a step-by–step diagram of each step, as well as an easy-to–follow color-coded patterns pack.
Techniques
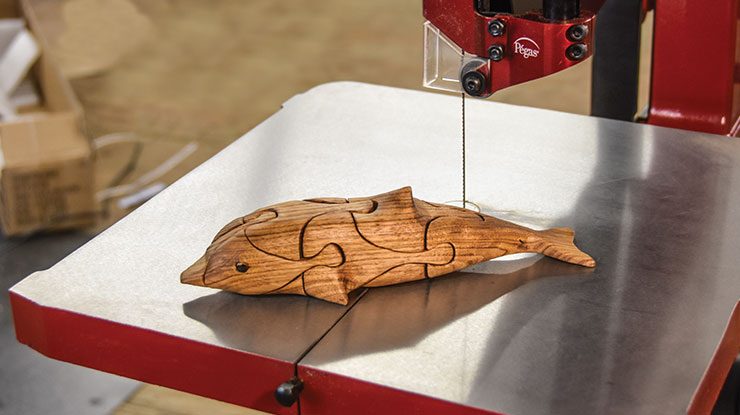
Scroll saw makers have been creating unique boxes for their homes for years. This article will show you how to create different kinds of wooden boxes with the scroll saw. The same techniques that are described in this article can be used to create different types of boxes like jewelry boxes. This article is worth reading, especially if scroll sawing is something you have never tried. It provides detailed instructions and tips for making boxes.
Some woodworkers enjoy trying new techniques. Scroll saw projects do not disappoint. This book contains detailed instructions, clear photos and detailed patterns that will help you create 29 different types box projects. For more inspiration, consider checking out our online resource directory. On our website, you will find a large selection of box projects. Before you make a decision on which box to make, take a look at our scroll saw reviews.
Tools
This book will prove invaluable to a beginner woodworker interested in making boxes with a scroll saw. The book will show you how to use the scroll saw. It also features 28 unique box projects each with its own characteristics. You will also find step-by-step instructions and photos as well as patterns and expert tips to make your box-making a success. Learn how to make beautiful boxes with the scroll saw.
Once you've mastered the basic skills required for box-making on a scroll saw, you may be curious about the different kinds of wood you can use. The first thing you might do is experiment with woods like white pine, basswood, and sugar pine. Because cedar is soft, it's an excellent choice for woodworkers who are just starting out. But if you're more adventurous and would like to learn how to create more complex wooden boxes on the scroll saw, you should try out genuine mahogany. Next, glue the sides together with temporary bond spray adhesive.
Instructions
If you are new to the scroll saw, it is possible that you have questions about how to make wooden boxes. They are much more than just storage. They can be used as beautiful decorative accents and even gifts. Here, you'll find 29 box projects from Scroll Saw Woodworking & Crafts. You can create your own unique wooden box by following the instructions.
This book is for advanced and novice scroll saw users. Scroll SawBoxes provides step-bystep instructions for creating 26 unique keepsake box designs, regardless of whether you're an advanced user or just starting out. There are tips and tricks, as well variations and patterns to make these unique wooden boxes. Beautiful photos and detailed patterns are included in this book.
Projects
Scroll saws are a great tool for learning new woodworking techniques. This book features 29 projects with step-by–step instructions, clear photographs, detailed patterns, as well as helpful tips and techniques. You will have fun creating beautiful boxes. Scroll saws are great tools to learn new techniques in woodworking, but it is equally important to know the right wood for your project.
This popular pattern guide provides detailed instructions for over 50 woodworking project ideas. The book has detailed photos and illustrations and also contains a section about choosing wood and how to transfer patterns. Learn how to select and transfer the patterns for beginners. For more advanced scrollers, tips and techniques will help you customize the patterns to create your own unique designs. It includes a helpful section for getting started that will assist you in choosing the right wood.
FAQ
Which woods are good to use for furniture-making?
Woods are classified based on their hardness. Softwoods can be pine, fir or cedar. They are great for outdoor furniture as they resist rot. You can find hardwoods like oak, maple, mahogany, teak, and others. Because they can't weather outside, they're usually used indoors.
How do I determine what kind of wood my project is made from?
When purchasing wood, always check the label. The label should detail the wood species, its moisture content and whether it has been treated or not.
What is the main difference between plywood or particle board?
Plywood is made up of layers of wood pressed together under pressure. Plywood is available in a variety of thicknesses. It is often used to make cabinets or flooring. Particle board is made from sawdust mixed with resin and then compressed into large blocks. It's often used for home renovation projects. Both types of boards are durable and easy to cut.
How much money will I need to get started?
Since every project differs, it is impossible to give exact numbers. Here are some factors to help you estimate how much money you will need.
-
Material costs
-
Tools and equipment
-
Time spent working on this project
-
Your hourly rate
-
What amount of profit can you expect to make?
-
Hire help
Start small, if possible. You can make simple boxes or picture frames if you're just getting started. You'll become more proficient as you get experience.
Statistics
- Most woodworkers agree that lumber moisture needs to be under 10% for building furniture. (woodandshop.com)
- In 2014, there were just over 237,000 jobs for all woodworkers, with other wood product manufacturing employing 23 percent; wood kitchen cabinets and countertop manufacturing employing 21 percent. (theartcareerproject.com)
- If your lumber isn't as dry as you would like when you purchase it (over 22% in Glen Huey's opinion…probably over 10-15% in my opinion), then it's a good idea to let it acclimate to your workshop for a couple of weeks. (woodandshop.com)
- Overall employment of woodworkers is projected to grow 8 percent from 2020 to 2030, about as fast as the average for all occupations. (bls.gov)
External Links
How To
How to stain hardwood
Staining wood is the process of applying chemicals to the wood's exterior, which alters its color. This chemical reaction causes the wood color to change from white and brownish red. While oak is the most widely used type of wood for staining purposes, other types of wood are also available.
There are several ways to apply stains to wood surfaces. Some methods involve mixing the stain with a solvent (such as turpentine) and then brushing or spraying the mixture onto the wood. You can also apply a solution containing water and dye directly to the wooden surface. It is possible to mix stain into varnishes and paints, making it part of the finishing coat.
Preparing the surface for staining wood is the first step. Cleaning the wood thoroughly removes any dirt or grease that could interfere with applying the stain. Sanding can smoothen out scratches and uneven spots. Next, you need to decide which stain you want. Penetrating stains are different from non-penetrating. Penetrating stain penetrates deeper into wood than nonpenetrating, making them suitable for dark colors like mahogany. Penetrating stains are best paired with lighter colors, such as maple.
After deciding on the type of stain, you want to apply, prepare your tools. You can use a paintbrush to apply stains. This allows you spread the liquid evenly over the surface. A few rags are also handy to clean up any spillages after you have finished painting. If you plan to mix the stain yourself, make sure you have enough containers available to hold the different components of the mixture.
After you have prepared your materials for staining, clean the area. Clean the area with soap and warm water to get rid of dirt and grime. Wipe down all furniture pieces with a dampened cloth and clean water. Make sure you eliminate any loose debris, especially if you plan to stain darker wood.
The stain should be applied next. Start at one end of the piece of furniture and brush or spray the stain onto the wood. Work slowly and carefully, moving back and forth along the grain of the wood until you reach the opposite end. Make sure that the stain does not drip off the edge of the wood. Allow the stain to dry completely before you move on to the next step.
Apply a clear polyurethane sealant to protect the painted surface. Apply three coats of polyurethane sealer. Allow the third coat to dry overnight, before sanding.