
Now is the perfect time to take a woodturning course if you ever wanted to create your own spoons or bowls. Mesa County Libraries offers a "Learn About Woodturning” course for the community. Grand Valley Woodturners member, Instructor Buck Taylor, will show participants how to turn wood and provide the tools necessary for making the pieces. He will also discuss the basics of woodworking, and the different types of wood as well as the tools that are used to make them.
Basics of woodturning
Woodturning allows you to do what you want. As such, you may end up with something completely different from your original concept. However, it is an extremely rewarding skill that allows you to make choices as you go along. Woodturning offers a freedom that allows you to create wood pieces in almost any shape or design that you desire, something that is not offered by most woodworking disciplines. Follow these guidelines to turn masterworks.
Before you start woodturning, it is important to know what equipment you will need. For this project, you will need a lathe as well as wood shaping tools, sharpening instruments, and safety goggles. These tools don't have to be expensive or bulky. Some people start their own lathes using a power saw. For accurate turning the wood, it is important to determine the diameter and speed of the pulleys.
Techniques
A woodturning class will help you learn everything you need in order to create beautiful bowls. Learn how to make natural edges with chainsaw logs. A variety of tools will be used to enhance and create unique designs. No matter if you're a beginner or an experienced turner, you can learn the techniques to make beautiful bowls.
The Techniques for Wood Turning First Class will help you learn the basics. You will learn how to turn small bowls and spindles. You'll also learn about the tools and wood used in turning, how to choose the right kind of wood, and how to sharpen your tools. The class will provide you with a cutting table that is endgrain, finished bowls, and even a piece or end grain of wood.
Tools
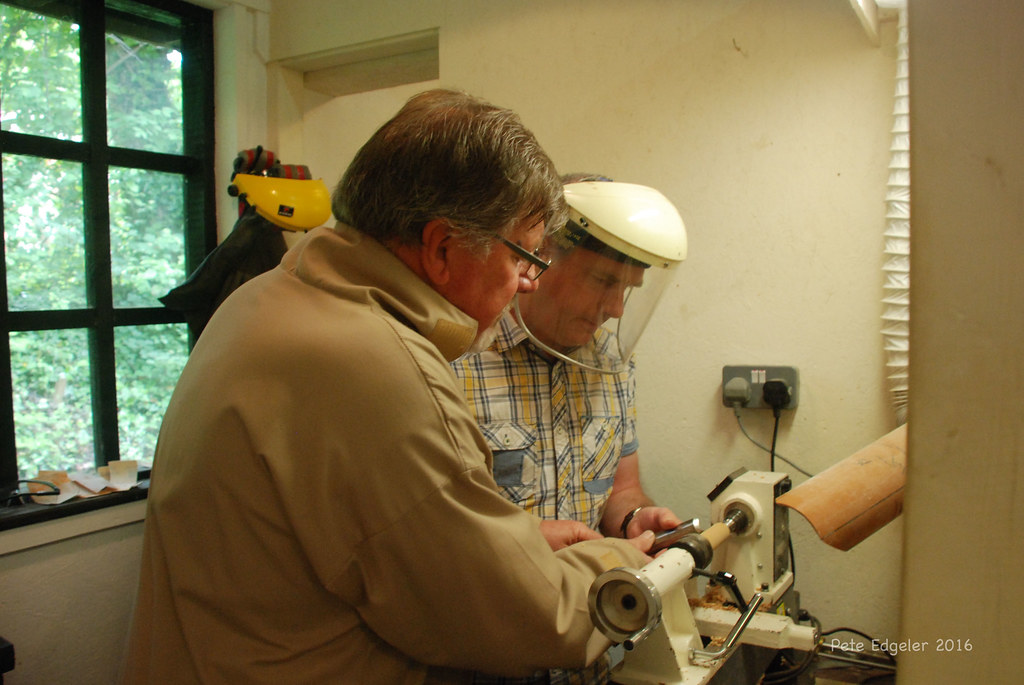
There are several types of wood turning tools you can buy. If you are a beginner, consider taking a woodturning class. You'll learn everything you need to know about woodturning, as well as how to choose the right tool. The instructor will demonstrate how to safely use the lathe. Additionally, you will learn about tool angles as well as chucking systems. There will be plenty of hands-on time at the lathe, so you can practice your skills right away.
Different techniques require different types of tools. Carbide tools work well for small projects. They also cost less than traditional HSS tool. Carbide tools work well for turning small bowls, pen blanks, and even small bowls. Carbide tools can be used to help you understand the basics of woodturning while being inexpensive. To make the best products, you need to know how to properly use these tools. If you are unsure of which tools to use, Wikipedia has a great article on woodturning tools.
The best places to take a class on wood turning
You can take a wood-turning course at many locations. You can either take one lesson or a course that lasts a whole day. Or you could do both. No matter what type of class you choose, the end result will be the same: a new skill and a finished shallow cherries bowl. Below are some suggestions to help you choose the right class. The best places to take wood-turning lessons depend on what your interests are.

In general, woodturning classes are tailored to fit the needs of the individual student. You'll be guided step by step through the process, no matter if you are interested in individual tuition or group lessons. A one-day class can teach you the basics, from how to use a lathe to sharpening tools, and turning an object. Some classes offer food-safe finishes so that you can apply them to your finished works.
FAQ
How much does a hobbyist need to invest in getting started?
To start your own woodworking company, you will likely need capital to purchase the necessary tools and other supplies. The best place to start is by buying a small drill press, circularsaw, circular saw or sanding machine. These items don't cost much so they won't break your budget.
What is the difference between a hobbyist woodworker and a professional woodworker.
Hobbyists enjoy creating things out of wood. Professionals tend to focus on the quality. Hobbyists are proud of their creations and will often share them with family members and friends. Professionals spend hours researching design ideas before starting to work on a project. They will meticulously plan every detail of their work from choosing the right materials to finishing it.
Is it difficult to start my woodworking business?
It can be difficult to start your woodworking business. There are many regulations and legal requirements that you will need to comply with. However, it doesn't necessarily mean you must go through all the hassle of setting up a business. Many people prefer to join existing companies. This allows you to join existing businesses and pay only membership fees.
How do you know which tools are the best for you?
It helps to reflect on your needs and preferences before you shop for tools. Do you prefer metal handles or plastic? What size of nails and screws do your hands use most? Are you comfortable with power tools, or would you rather use hand tools?
Statistics
- Average lumber prices rose about 600 percent between April 2020 and May 2021. (familyhandyman.com)
- Overall employment of woodworkers is projected to grow 8 percent from 2020 to 2030, about as fast as the average for all occupations. (bls.gov)
- Most woodworkers agree that lumber moisture needs to be under 10% for building furniture. (woodandshop.com)
- Woodworkers on the lower end of that spectrum, the bottom 10% to be exact, make roughly $24,000 a year, while the top 10% makes $108,000. (zippia.com)
External Links
How To
How to make wood joints
This tutorial will show how to join 2 pieces of wood together. The "pocket hole joint" is a method whereby we drill holes into the wood and glue them together. This method works great if your wood is straight and smooth. You may want to consider other methods, such as dowel joining. These are the steps
-
Drill Pocket Hole Joints. Measure and mark the location where you would like to place the pocket hole joint. With a handheld drill machine or jig saw, drill 3/4-inch deep holes in the ends of each piece.
-
Sand Smooth. Sanding the edges of the wood will help to prevent the joint from splitting later.
-
Glue the two sides of the wood together. Apply glue to both sides of the wood. Allow the wood to rest for five minutes before clamping it together.
-
Secure the pieces together. After the glue has dried completely, you can clamp the pieces together until they are flush.
-
Trim Joinery. Trimming the joinery after glue has completely dried.
You should leave enough space between the pieces to allow you to turn them inside-out.