This book provides a comprehensive overview of the fundamentals of wood turnings, and also includes examples from some top turners around the globe. Keeling also covers the evolution of segmented wood turning technology, as well safety and health concerns when working with wood. The book includes 10 projects, which progress in difficulty, as well as a gallery of inspirational segmented designs. The book is intended for beginners to learn the basics of segmented turniment making, but it is not an exhaustive guide to those who want to create the most beautiful turniments.
Techniques
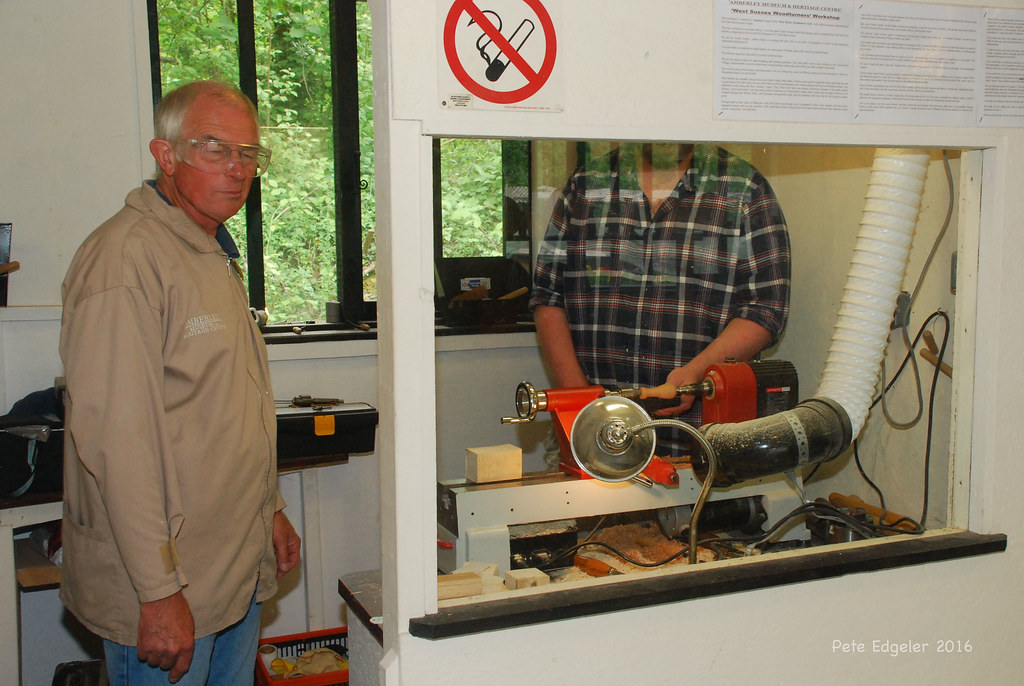
William Smith explains how to make segmented wood turned objects in Techniques for Segmented Turnings. This woodworking technique is great for creating complex vessels that have intricate details. This technique is especially suitable for beginners. A basic knowledge of woodworking is necessary before you start. If you have any experience in the field of turning, it is ideal. You can learn the basics and then move on to more advanced techniques.
Materials
There are several ways to create segmented wood turnings. These can be made using stave or ring construction. Wood expands in a direction parallel to the grain. Therefore, the turner must take into account non-parallel directions of grain and take precautions to protect the piece. This book will give you an overview of the various styles and types you can use to turn wood.
Feature Rings
Many segmented dishes have feature rings. The zigzag elements turn on their sides create a lightning-like design in the ring of the segmented bowl. The final turning is then sanded down to 600 grit, and coated with clear lacquer. These ring shapes can be used as home decor items or gifts. This DVD teaches you how to create segmented bowls.
Ring construction
There are many ways to create rings for segmented wooden turnings. This technique can also work with non-segmented solid wood. Wood expands in a direction that is perpendicular with its grain and moisture content. The shape of the ring can be affected by non-parallel grain directions. This must be considered by the turner when designing the segmented turns.
Stave construction
Segmented wood turning can be done in two main styles: ring or stave. For some projects, the ring construction is the most popular. However, stave construction can be more prevalent. Both styles are good, but ring construction is easier and more attractive to beginners. This article will help you understand the differences between ring- and stave-construction and how to use them in your next segmented project.
Solid wood
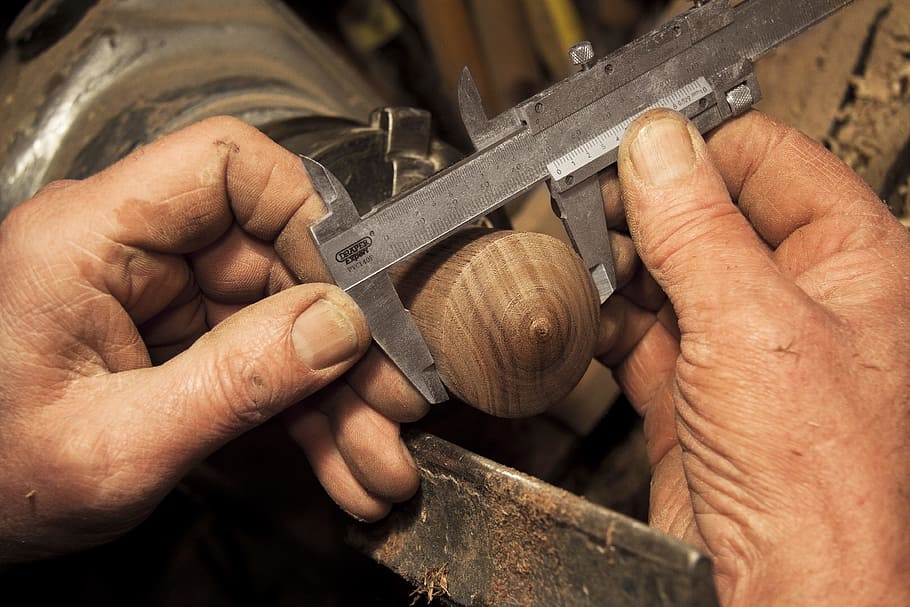
It is important to accurately measure miter angles when making solid wood sectioned turnings. The size of the segments can vary depending on their width. PVA glue should be used with the grain against the grain to glue segments together. You can glue two segments together at once. They can be held together by clamping rings using hose clamps. For each eight segments, you should use a miter angle between 22.5 and 23 degrees.
Floating base
When creating segmented wood turnings, you should avoid using a flat or sloping base. A floating base can prevent base failure by minimizing stress on the piece. Floating bases can be made from a half-mortise joint where a solid disc fits in the gap, allowing the wood to move freely. Floating bases can be made from quarter-sawn lumber, which is more stable than plain-sawn. A floating base should have a diameter of less than 6 inches.
FAQ
Are there any tips for starting a woodworking enterprise?
It's not easy to start your own woodworking business. It's worth it if you're passionate and willing to work hard. You might even enjoy running your own business.
It is important to remember that unexpected problems may arise when you start a new venture. You might run out money, or you may have to borrow unexpectedly. Perhaps customers won't pay you as much as you had hoped. Preparedness is key to survival in such situations.
One good tip is to set up a separate bank account specifically for your business. This way, you'll always know exactly how much money you have coming in.
This is a job that I can make a living from.
Yes! Many woodworkers do. According to U.S. Bureau of Labor Statistics (BLS), woodworkers earned a median annual salary of $34,000 in May 2012. That's higher than the national average of $31,000 per year.
What woods are suitable for making furniture?
Woods can be classified according to how hard they are. Softwoods include cedar and pine as well as cedar and cedar. Because they are resistant, they can be used for outdoor furniture. You can find hardwoods like oak, maple, mahogany, teak, and others. They are generally indoors as they don't weather well outside.
What furniture can I refinish?
Yes! There are many options for refinishing furniture that you don't need to hire a professional. Here are some examples:
Use sandpaper on the surface to remove any stains or scratches. Next, wipe the surface clean with a damp cloth.
Apply clear polyurethane varnish. Allow to dry completely before moving furniture.
Use acrylic paint to paint furniture.
Stain can be used instead of paint. Furniture will look richer with the stain.
Apply shellac wax. The wax will add shine to the wood and protect it.
Which material would you recommend for woodworking lessons?
Start with softwoods such as pine and poplar. When you feel confident with these two, move on towards hardwood.
How do I calculate woodworking prices
The most important thing to remember when calculating costs for any project is to keep them as low as possible. Always make sure you get the best price on materials. It is also important to consider the costs of other factors, such time, skill, and experience. Our guide to the average household DIY task price will give you an idea of how much it costs to complete different types of woodwork projects.
Statistics
- Most woodworkers agree that lumber moisture needs to be under 10% for building furniture. (woodandshop.com)
- If your lumber isn't as dry as you would like when you purchase it (over 22% in Glen Huey's opinion…probably over 10-15% in my opinion), then it's a good idea to let it acclimate to your workshop for a couple of weeks. (woodandshop.com)
- Average lumber prices rose about 600 percent between April 2020 and May 2021. (familyhandyman.com)
- The U.S. Bureau of Labor Statistics (BLS) estimates that the number of jobs for woodworkers will decline by 4% between 2019 and 2029. (indeed.com)
External Links
How To
How to join wooden boards without using nails
Woodworking is a hobby that many people enjoy doing. Woodworking can be a fun hobby because you can work with your hands to make useful objects from wood. However, there are times when you want to join two pieces of wood together without having to use nails. This article will teach you how to do this to keep your woodwork projects looking great.
The first thing you'll need to do is cut off any rough edges from your pieces of wood before joining them together. Avoid leaving sharp edges that could lead to problems later. Now you can start gluing the boards together.
If you're working with hardwood, you should only apply glue to one side. For softwoods like cedar and pine, glue should be applied to both sides. Press the boards down until the glue is fully incorporated. Before moving onto the next step, make sure the glue has dried completely.
After you have glued the boards together, drill holes in the joints where you intend to place screws. Depending on what type screw you choose, the size of these holes will depend on how big they are. For example, if you're going to use a 1/2-inch wood screw, then you should drill a hole that is at least 3/4 inches deep.
Once you have drilled your holes you will need to drive the screws through each joint and into the backside. Be careful not to hit the front surface of the board, or else you'll ruin the finish. Don't drive the screws too far into the end. This will prevent splitting in the end grain of the wood.
After your project is completed, you will need to protect it from the weather. You can either seal the entire piece of furniture or cover the top. You will want to choose a product that will be durable for many years. Some examples include oil-based varnishes, polyurethane, shellac, lacquer, etc.
These products can be found in most home improvement shops. Just make sure that you buy the right kind for the job. Some finishes are toxic and should not ever be used indoors. When handling certain finishes, wear protective gear.