
Right angle drills offer the most efficient way to drill holes in tight areas. These drills are lightweight and provide right-angle functionality that is not possible with traditional drills. This is what you need to know about these multifunctional tools. You don't need to know what a right angle drill looks like. Here are some helpful tips. You'll be able then to pick the one that is best for your job.
Regular drills can also be used with right-angle drills
If you have to drill holes or drive screws in restricted spaces, the right-angle drilling tool is an excellent tool. While they work the same as regular drills, right-angle drilling works in a slightly different way. This allows you to fit the drill in places where a regular drill can't. Because the drill head is angled directly at the surface, it will fit into tight spaces.
A constant 120-volt supply of electricity is required for right-angle corded drills. Cordless right-angle drills run on a rechargeable lithium-ion battery. While they are more convenient than corded drills, they are also more expensive. The cordless right-angle drills are generally less powerful and easier to use than their corded counterparts. You will be able to make the best selection if you have REDLINK (tm) Intelligence.
They can also be used to drill holes in difficult places
An angle drilling tool is a type and power drill that's used to put in screws and drill into tight spaces. This drill is not as powerful than a traditional power drill but it has advantages over its counterpart. This tool allows you to drill in tight spaces because it can reach confined spaces. An angle drill is not able to drill straight lines. This is why it is important to exercise caution when using this drill.
Angle drills are available in many different models. Angled drills are extremely popular in construction, as plumbers and electricians often have to drill hundreds of holes into tight spaces. They are great for drilling holes in corners and other small spaces. Tradesmen may require larger holes. It is crucial to select an angled drill that has sufficient power to drill through all the material in one pass. There are also corded options available for your convenience.
There are multiple speeds available
Variable speed triggers may be available on many angle drilling machines. Variable speed triggers allow you to select different speeds. It is important to find an angled drill that allows you to control the speed at which it runs. It is also important to choose one with variable speed control, especially for delicate tasks. Start by researching to determine which type you should choose.
Angle drills that do not have speed control can be difficult to use in tight spaces. Some right angle drilling tools have extra convenience features. Some models are equipped with two LED lights to improve visibility in dark areas. Additionally, the five-position pivoting tip allows for more balance in tight spaces. Variable speed triggers allow you to set the speed to suit the application.
They are lightweight
An LED job light is included with all DeWalt angle drills. The light remains on for 20 minutes after you release your trigger. It can be used as a torch to illuminate the drill while drilling. These tools also have a lithium-ion battery pack for extended run times and lightweight operation. This guide will show you how to use an Angle Drill. This tool is so easy to use! You'll be able to quickly get the drill started and won't have any worries about its weight.
This drill comes with an 18-volt, high-power battery. It is able to run on wood, metal, or other difficult materials. Its fan-cooled motor provides high-speed, constant-voltage power and a dual speed range of 0-650 to 2000rpm. This drill can be used to insert screws into wood or metal. The variable speed trigger allows you to control how much torque is used to drill the material.
They have a geared head
Geared-head angle drills are similar to drill presses, but they are built sturdier and often feature safety interlocks. An angle drill is driven by a drive train, instead of a belt that keeps the drill bit turning. They can handle larger drill bits. We will be discussing the benefits and drawbacks of geared-head drills.
Angle drills are equipped with a geared head and can be used to drill wood or metal. While the torque is quite low due to their geared head mechanism, adjustment is easy. They're well-suited for working in tight spaces so they are frequently used in construction as well. These drills can be used with different types of bits. Some models feature a variable speed trigger, keyless chuck and a keyless button chuck. This makes it easier to change bits.
They have a chuck
One important feature of angle drills is the chuck. A drill that uses a chuck will allow you to quickly and easily change out a drill bit. Angle drills have a cone jaw and chuck. This chuck can hold a cone jaw-sized bit and threads into most drilling spindles. The 10 piece kit includes a chuck, collets, and drill bits, and weighs only 0.25 pounds.
Milwaukee rotary tools can be used with delicate and small materials. Because of the larger head, this drill is a good option if you plan to use it in tight spaces. However, this model lacks a keylesschuck. This brand is trusted, and it comes with a long warranty. This drill might not be the right choice if your work involves delicate materials.
FAQ
How can I learn basic woodworking skills
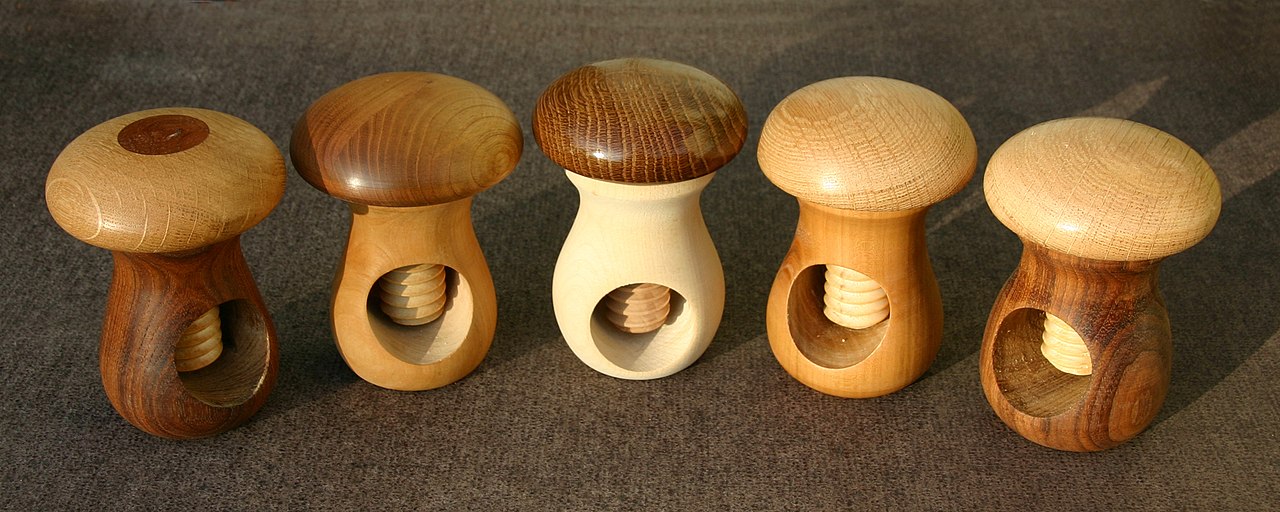
The best way to learn how furniture construction is to make your own bench. This project can be done with any kind of wood that you have at home. If you aren't sure what type of wood to use, you can buy cheap pine boards from Lowes or Home Depot. You'll need to sand the bench after it's built. Then, finish it with varnish or a stain.
Are you looking for tips to start a woodworking company?
It takes a lot of effort to start a woodworking business. But if you're passionate about your hobby, you won't mind putting in the effort. You'll enjoy the challenge and rewards of owning your own business.
It is important to remember that unexpected problems may arise when you start a new venture. For instance, you might run out of money unexpectedly. Or you might find that your customers aren’t willing or able to pay as much you had hoped. Preparedness is key to survival in such situations.
One good tip is to set up a separate bank account specifically for your business. You will always know how much money you have coming in.
What's the difference?
Hobbyists love making things from wood while professionals are more concerned with the quality of their work. Hobbyists often take pride in the creations they make and often share them to family and friends. Professionals spend hours researching design ideas before starting to work on a project. They'll be meticulous about every aspect of their work, from choosing the best materials to finishing it perfectly.
What is the difference between plywood and particle board?
Plywood is a combination of layers of wood, which are then pressed together under high pressure. Plywood comes with a range of thicknesses, and it is most commonly used for flooring and cabinets. Particle board can be made from sawdust, resin, and then compressed to make large blocks. It's commonly used for home improvement projects. Both types of boards can be easily cut and are durable.
How can I determine which tools are most suitable for me?
It's important that you consider your needs and preferences while shopping for tools. Are you more comfortable with plastic or metal handles? What size screws or nails do you prefer? Are you more comfortable using power tools than hand tools?
Statistics
- Overall employment of woodworkers is projected to grow 8 percent from 2020 to 2030, about as fast as the average for all occupations. (bls.gov)
- If your lumber isn't as dry as you would like when you purchase it (over 22% in Glen Huey's opinion…probably over 10-15% in my opinion), then it's a good idea to let it acclimate to your workshop for a couple of weeks. (woodandshop.com)
- The U.S. Bureau of Labor Statistics (BLS) estimates that the number of jobs for woodworkers will decline by 4% between 2019 and 2029. (indeed.com)
- Average lumber prices rose about 600 percent between April 2020 and May 2021. (familyhandyman.com)
External Links
How To
How to stain wood
Stain wood is a process that involves applying chemicals to the surface of wood, which changes its color. This chemical reaction causes wood to turn from whiteish to brownish. While oak is the most widely used type of wood for staining purposes, other types of wood are also available.
There are many ways to stain wood surfaces. Mixing the stain in a solvent such as turpentine and spraying it onto the wood is one method. You can also apply a solution containing water and dye directly to the wooden surface. You can also mix stains with varnishes or paints so that they become part the finish coating.
Preparing the surface is the most important step in staining wooden surfaces. To apply the stain, clean the wood completely. Sanding smoothens any scratches or rough spots. The next step is to determine the type of stain you would like to use. There are two main types of stain: non-penetrating and penetrating. Penetrating stains penetrate deeper than non-penetrating stains, which makes them great for dark colors like mahogany. Non-penetrating oils work best when used with light colors, like maple.
You will need to decide on the type of stain you want to use, and then prepare your tools. A paintbrush works well for applying stains because it allows you to spread the liquid evenly across the surface. To remove any stains left behind after painting, you will need some rags. If you plan to mix the stain yourself, make sure you have enough containers available to hold the different components of the mixture.
After you have prepared your materials, clean the area you intend to stain. To remove dirt and dust, use warm water and soap. Wipe the entire piece of furniture with a rag dampened with clean water. Be sure to get rid of all loose material, especially if staining is planned for darker wood.
The stain should be applied next. Apply the stain by brushing or spraying it onto one side of the furniture. Slowly and carefully move along the grain of wood, slowly but steadily, until you reach the other end. The stain should not drip off of the wood's edge. Let the stain dry completely before proceeding with the next steps.
Protect the painted surface with a coat polyurethane paint sealant. Apply three coats polyurethane sealer. Let the third coat dry overnight before you sand the final coat.